


Molly Green Magazine Featured Articles:
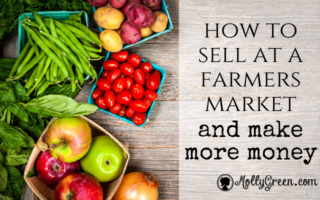
How to Sell at a Farmers Market and Make More Money
Farmer’s markets are very popular. It’s fun to shop for fruits, vegetables, baked goods and homemade crafts from local vendors. Maybe you like to meet your friends there or hang…
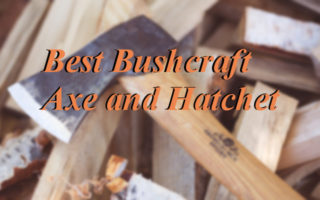
Best Bushcraft Axe and Hatchet: Buyer’s Guide and Reviews
An axe is a multi purpose tool for homesteading, backpacking, camping or bushcrafting. It is difficult to know which axe to choose, so I have done a bunch of research…
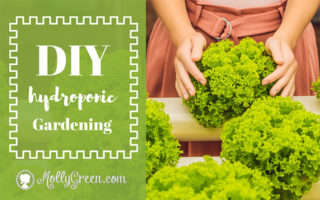
DIY Hydroponic Gardening
Very few things can give as much satisfaction as growing your own food, but unfortunately, not everyone has the advantage of owning a garden plot, field or homestead. Appropriate land…
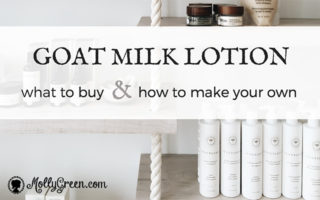
Best Goat Milk Lotion to Buy or Make Your Own with 3 Easy Recipes
Discover the natural health and skin benefits of goat milk lotion! We show you the best products to buy and share 3 recipes for how to make your own.
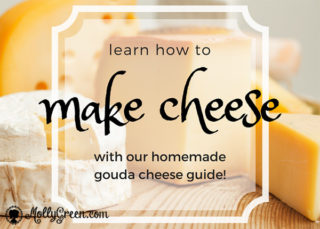
How To Make Cheese: A Guide To Making Gouda Cheese
Learn how to make cheese with this complete gouda cheese making guide! Learn about cheese making supplies, cheese cultures, cheese presses, and more!

Living Off the Grid: A Day in the Life of an Off-Grid Mom
Learn what life is like for an off-grid mother!
Molly Green Gift Ideas:
Read all Molly Green Magazines for free.

We are making available hundreds of articles, how-to guides, printables and other useful resources available for viewing and download. To get started go here!